With this next session, we will be exploring what Illustrator has to offer in the realm of Symbols, Blends and Masks. Symbols are a tool that allow the artist to access pre-made elements/objects and utilize them in a design. As neat as they are, they could surely prove to be one of the elements that you will rarely put into action, but there will definitely be those few times when they save the day.
Blends shouldn’t be too new of a topic for most of you, as this feature is an important player in Photoshop, After Effects and almost any other digital design/art program. What you will find, however, is that managing layers and objects within parent layers can get pretty overwhelming, depending on the complexity of your work and sense of organization.
Lastly, we will learn about masks and opacity. This is an area that will become commonplace in your work. The ability to hide and reveal certain parts of our designs is critical, but again, this gets pretty complicated when we aren’t organized or get involved with a large project.
SESSION INSIGHT
 Sometimes we are faced with a situation where a design needs a particular element, say a pretty flower, and we just don’t want to draw it, or maybe we flat-out can’t. This is when we can look to useful resources like symbols to come to our rescue.
Symbols in Illustrator are pre-made vector-based objects created by various artists who work for Adobe – sweet job, right? Usually these artists can draw and understand the principles of design (but apparently sometimes not.) The symbols are organized by categories and themes, such as Sushi or Fashion. Essentially, they are clip art that an artist can use in their own work.
 So we’ve all heard the saying, “time is money.” Resorting to a symbol will save us some time, and hopefully some money. But here’s the catch: Be very selective when going down this path. Our work can get cheesy real fast if we don’t have a keen eye for good design. When looking for a solution in a symbol, we need to ask ourselves, “Is this going to improve the aesthetic of our work? Is it something that I could do better?” Because when it comes down to it, everyone who has access to Illustrator has these exact same images, so originality isn’t really in that tool’s vocabulary.
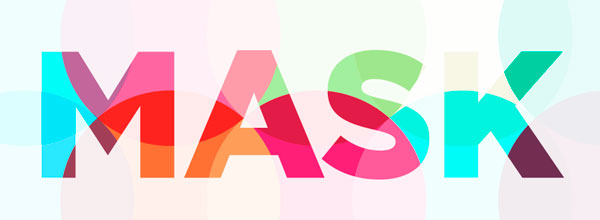
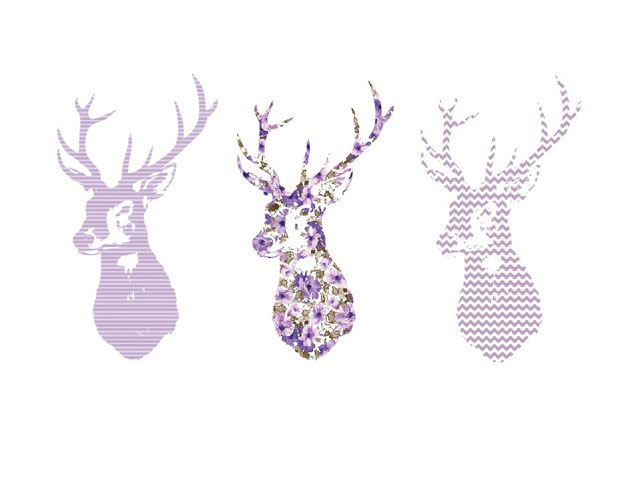
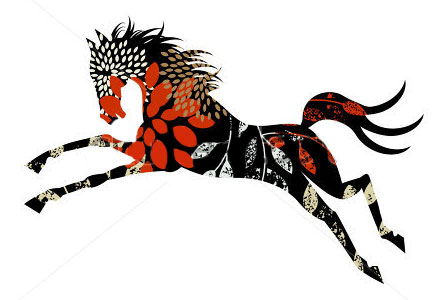
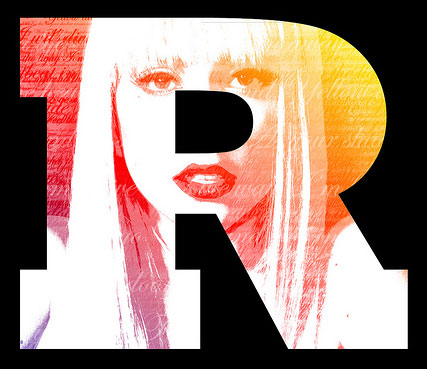
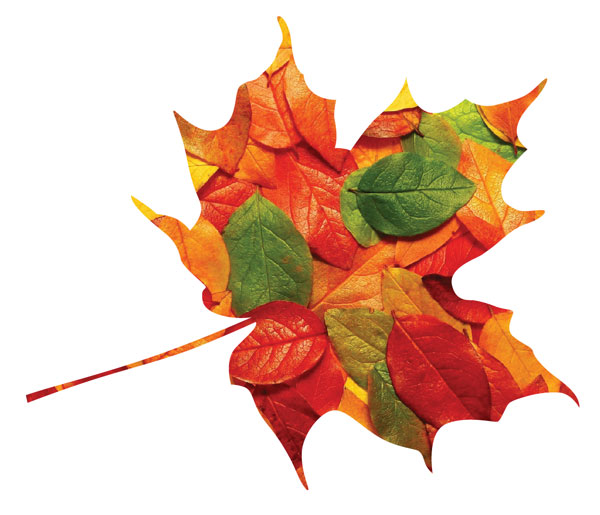
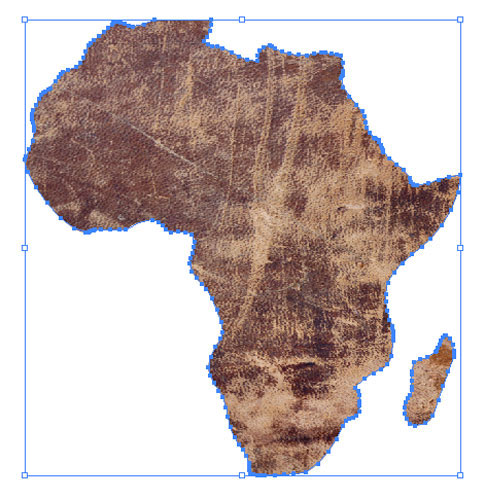
When we reveal only portions of our designs, we create curiosity, intrigue, strength and power. In many ways, masks are very similar to stencils. An artist can either choose to fill a shape with a color or a pattern, or work with negative space and reveal an original background while filling the area around the shape with paint, texture, etc. Here are a few images to inspire you as you move through this session’s exercises in masking.
Click on the photo below to start the image slideshow.
Since we liken masks to stencils, maybe we should get a good look at traditional analog stencil work – in the form of graffiti. This short documentary follows stencil artists in Ireland.
I appreciate how this artist demonstrates Reference Size, but you need to think about applying that technique to the real objects that you are referencing, not by using an image in your program… that is kind of cheating at this point in the game. Try doing the reference technique with the items you have collected to draw. Watch out, there’s a really loud guitar intro on this one…
