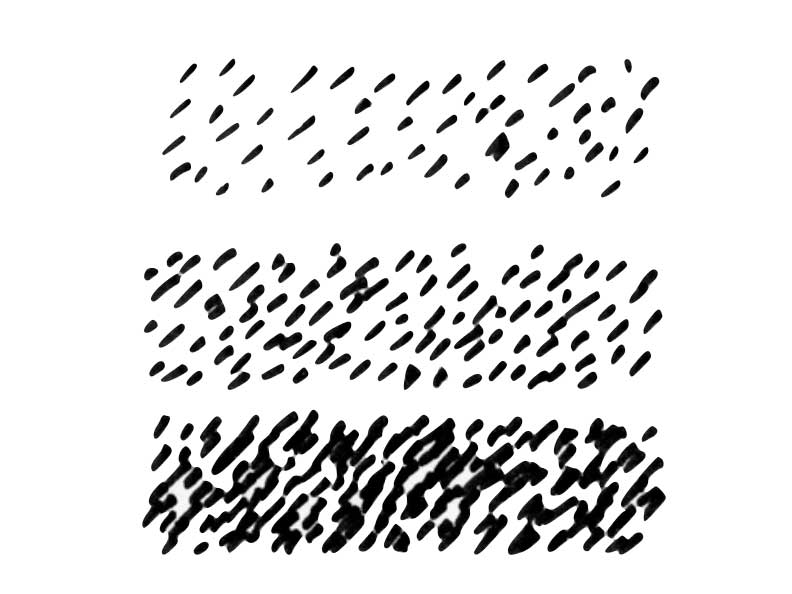
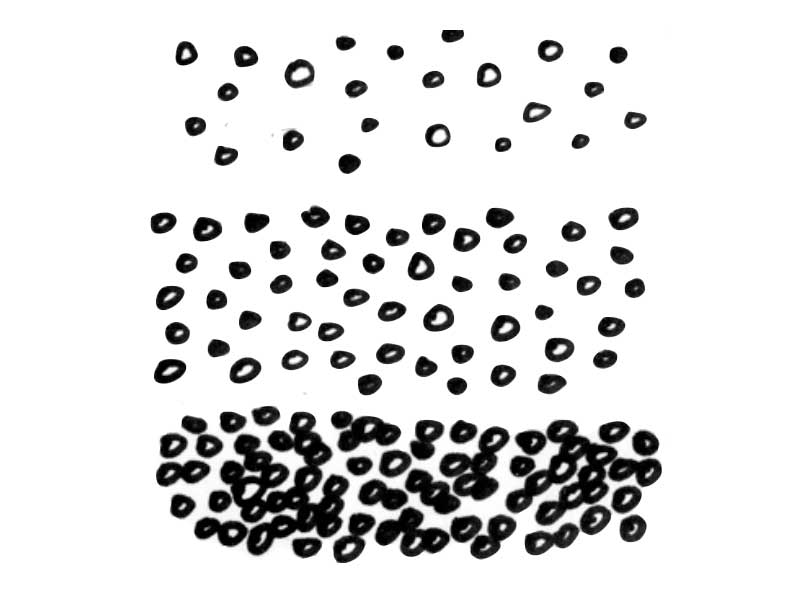
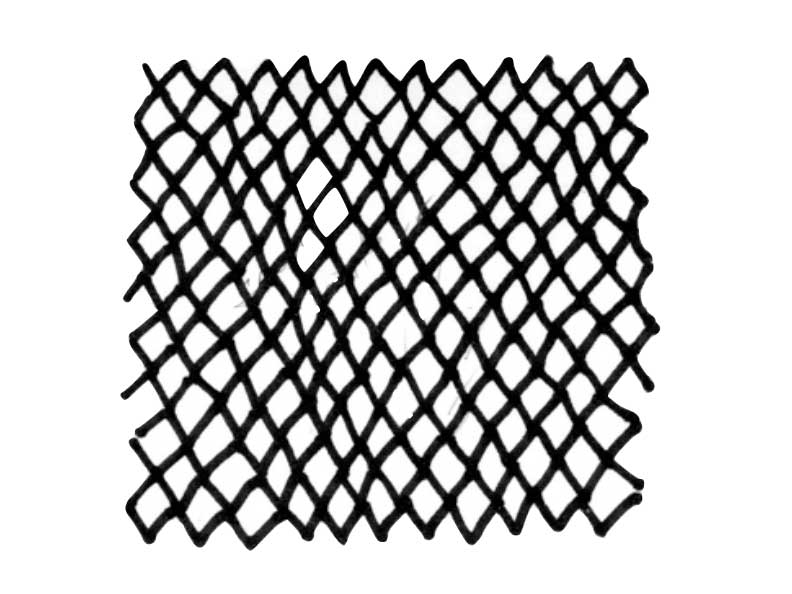
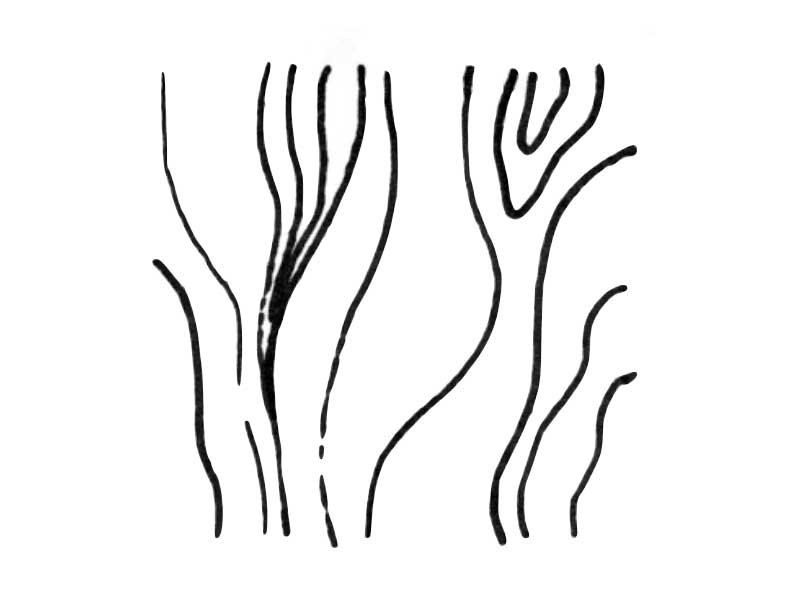
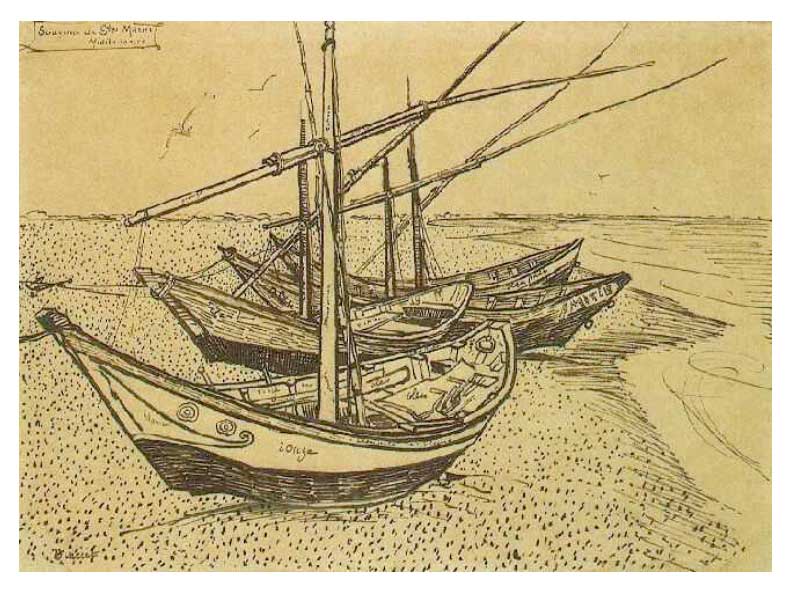
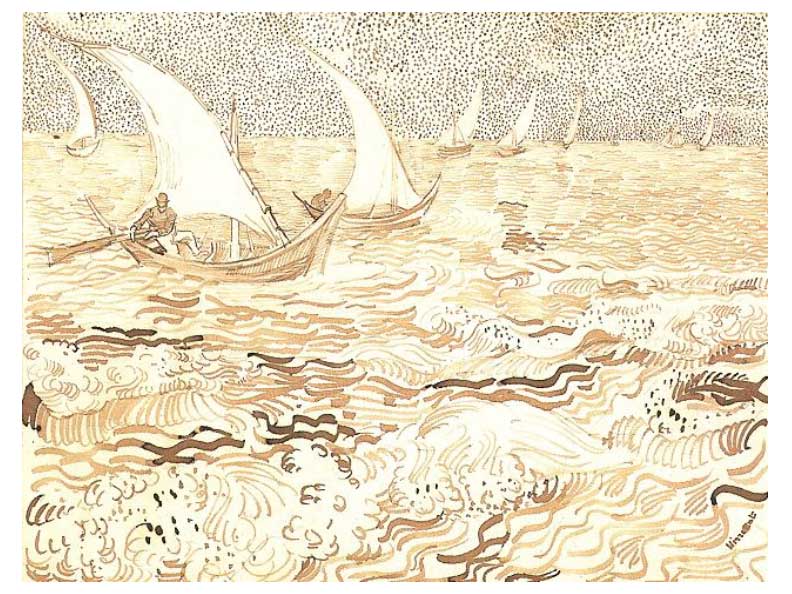
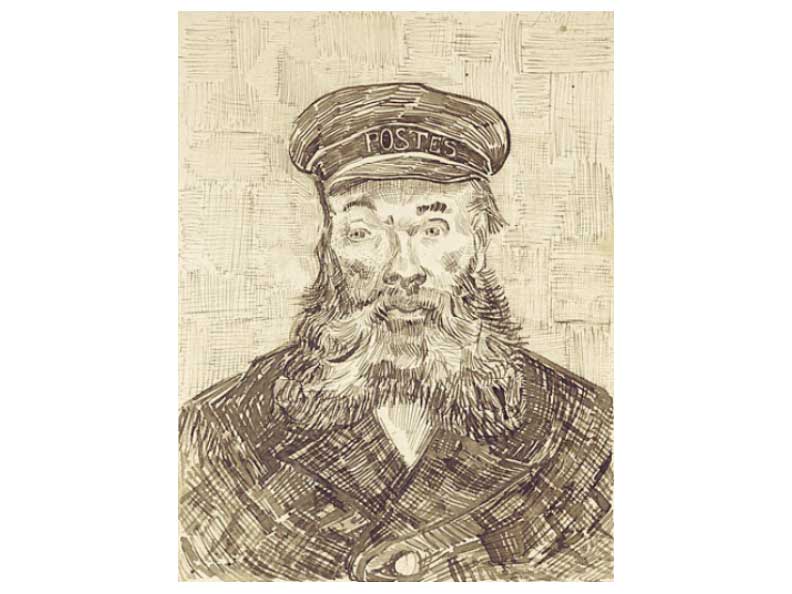
This second session is set up to be a solid entry point for the new user in this area of digital art. It really is important to get a handle on the most basic tools and being able to navigate the space, etc. Since Illustrator/vector objects are primarily based in a point-coordinate system, we should be comfortable moving, manipulating and managing these points and paths.
The first tools you will be getting accustomed to will be the Pencil and the Pen. We will get started first with the pencil. This tool has quite a bit of flexibility and function. It can create very precise lines and can also perform with smooth finesse. We can also create filled-in regions inside the paths that we draw, giving us solid forms within our design.
You will notice that illustration with the pencil tool is not all that different from using the physical tool that we grew up with, making marks on paper. What the luxury is when drawing in a vector format is the ability to revisit the path and dial it in, edit it, to your precise need. This is a time for you to get accustomed to selecting points along the path and manipulate the nature of their location, curve and weight.
SESSION INSIGHT
The Line is the most important element in drawing and illustration. Now, this is not a class solely about drawing, in fact it is more about digital design in general. However, wether you are creating a logo, elements for a brochure, web design, etc., the line is almost never absent. You will really find that the success in your creative work with vector-based design will depend on your ability to dial-in and perfect your paths and forms.
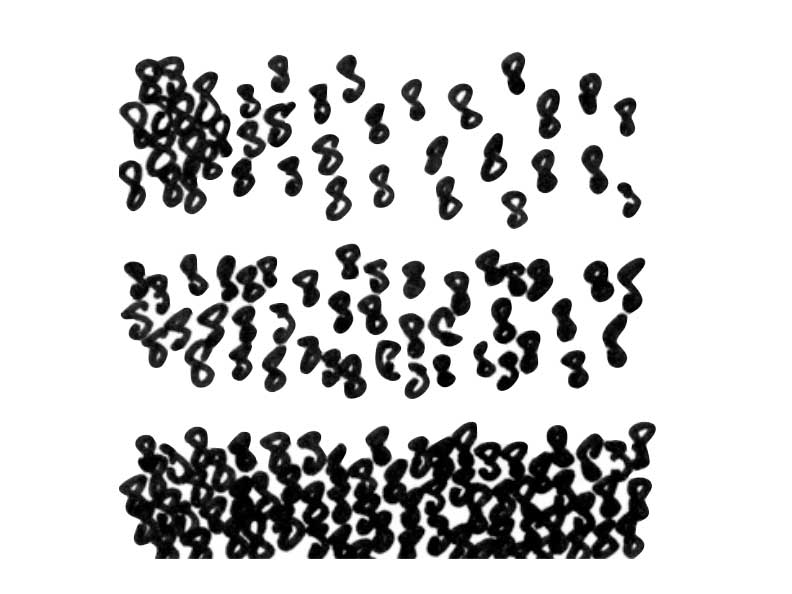
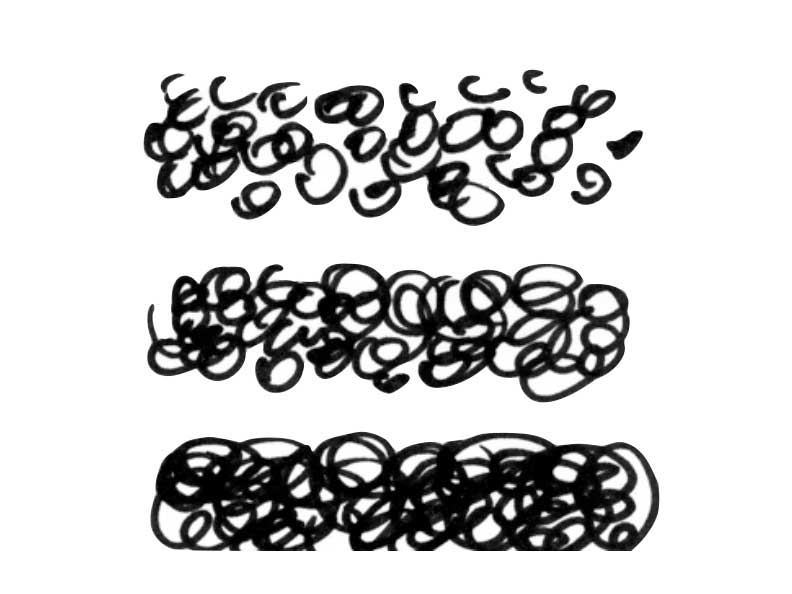
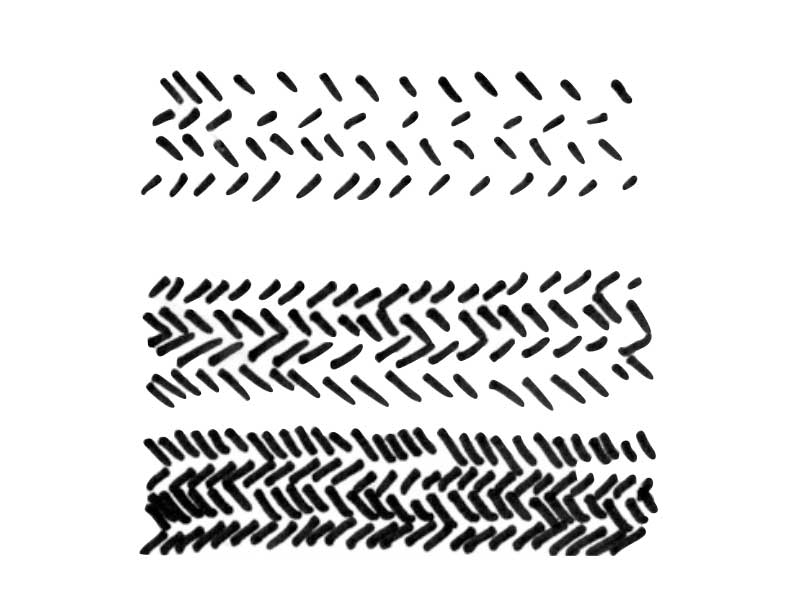
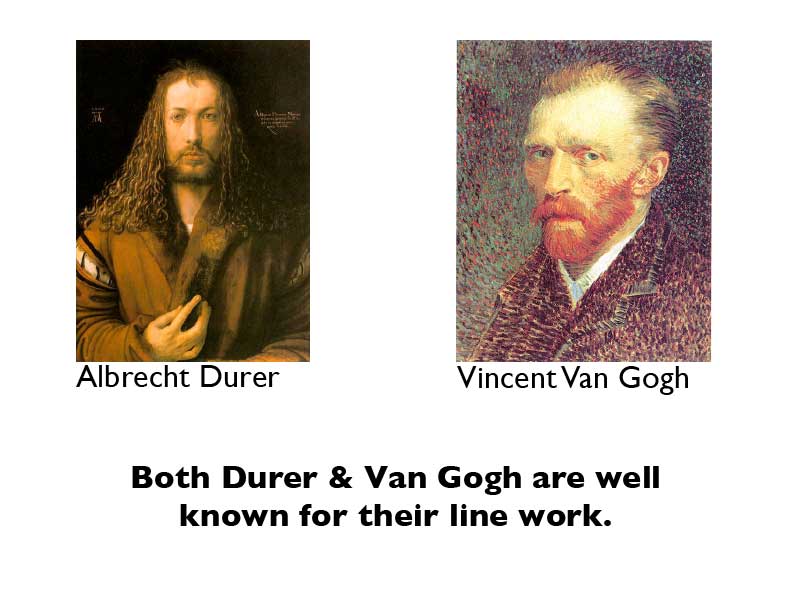
 Line is the general term that refers to the mark that is made on the canvas and can be considered in two ways. The linear marks made with a mouse or tablet or the edge created when two shapes meet. To unlock the artistic potential of the line you need to understand how to visually express yourself through shape whether on paper or computer. Even with simple strokes and minimal volume the well drawn shape can have a powerful emotional impact.
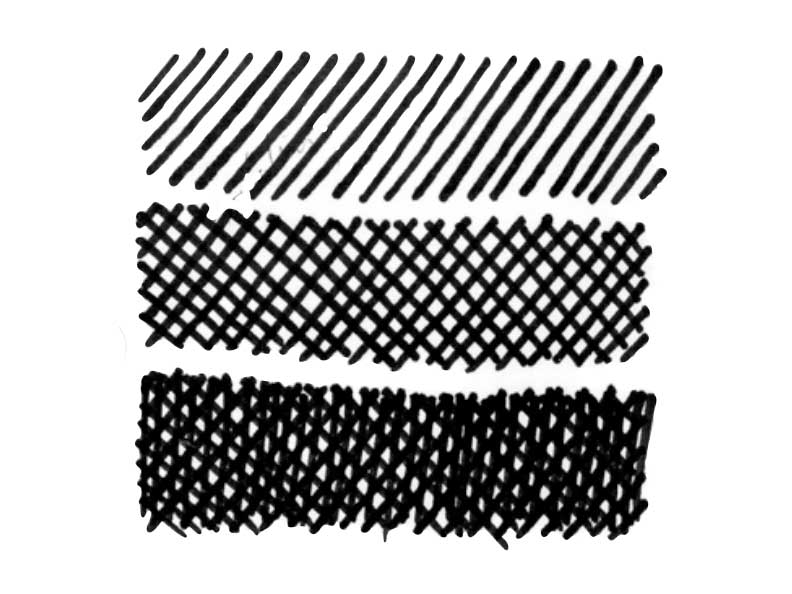
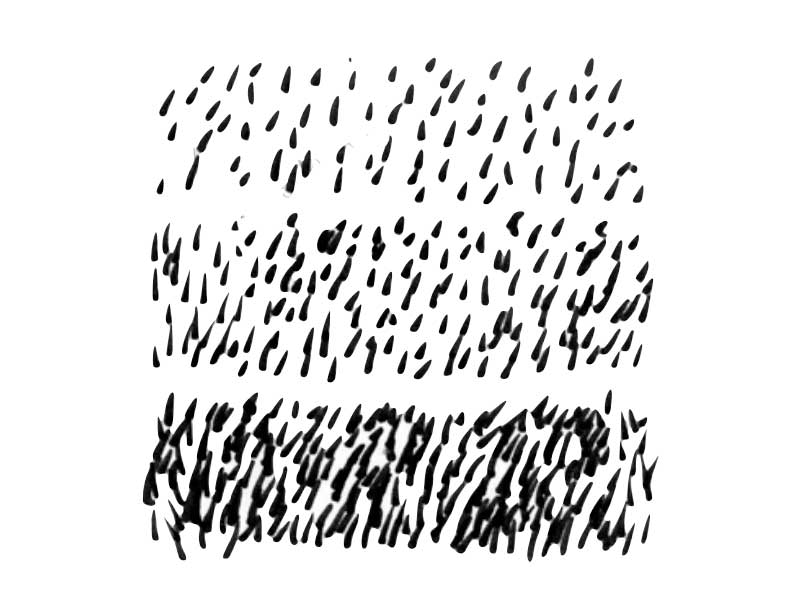
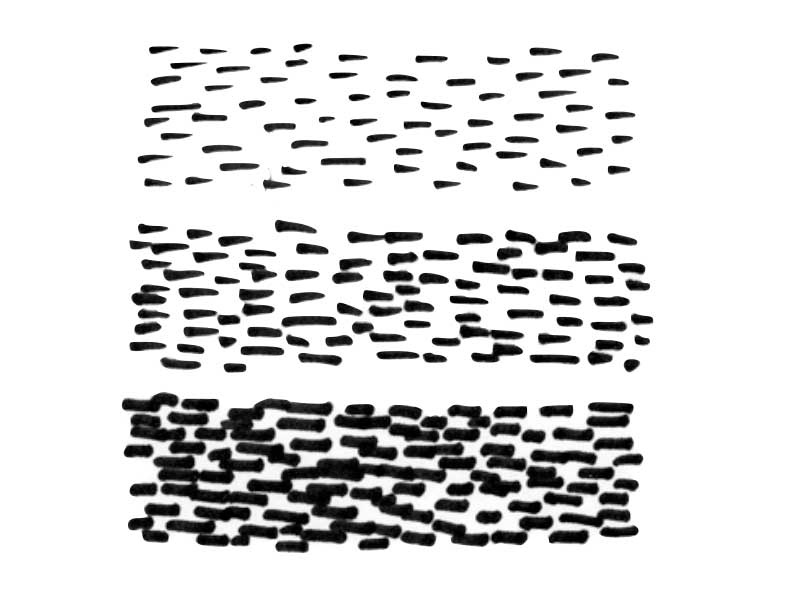
All lines have direction – Horizontal, Vertical or Oblique. Horizontal suggests calmness, stability and tranquility. Vertical gives a feeling of balance, formality and alertness. Oblique suggests movement and action. The element of direction can have a powerful influence on the mood of a composition. It is something often overlooked, but making a conscience decision about the dominant direction can have a noticeable effect on the atmosphere of the work.
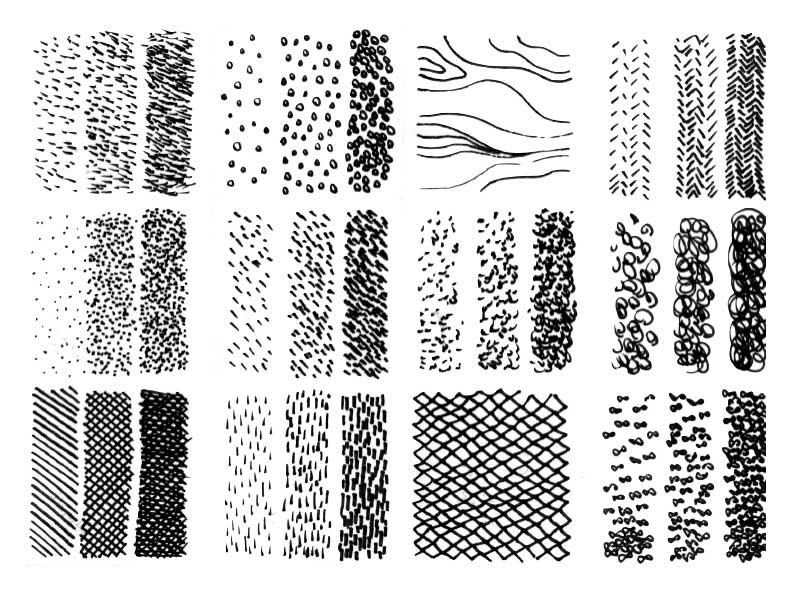
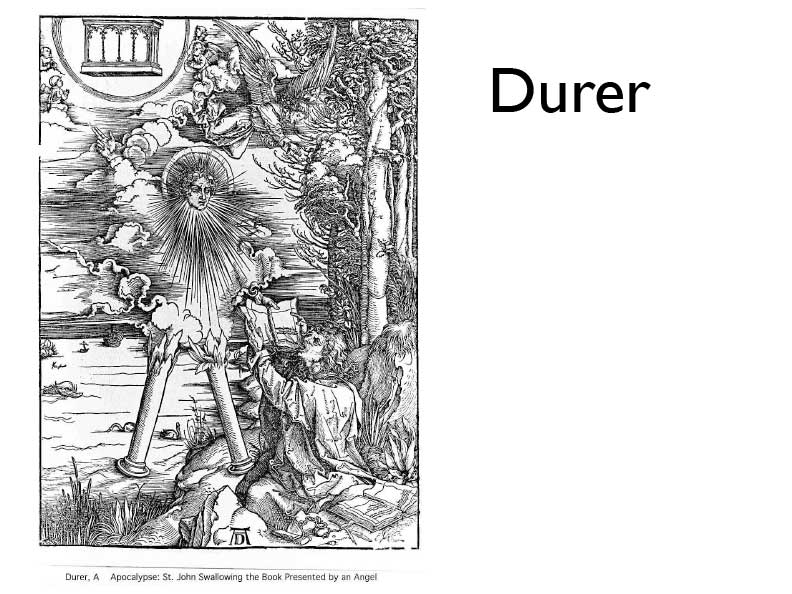
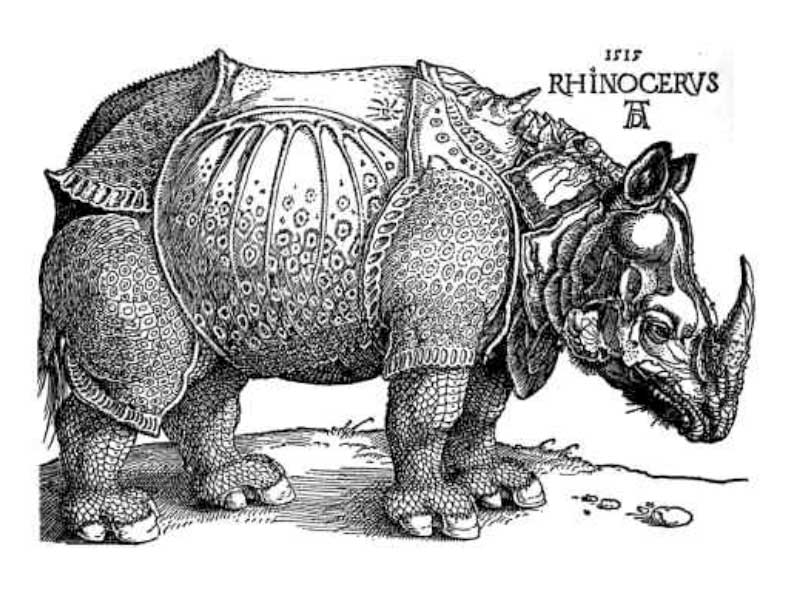
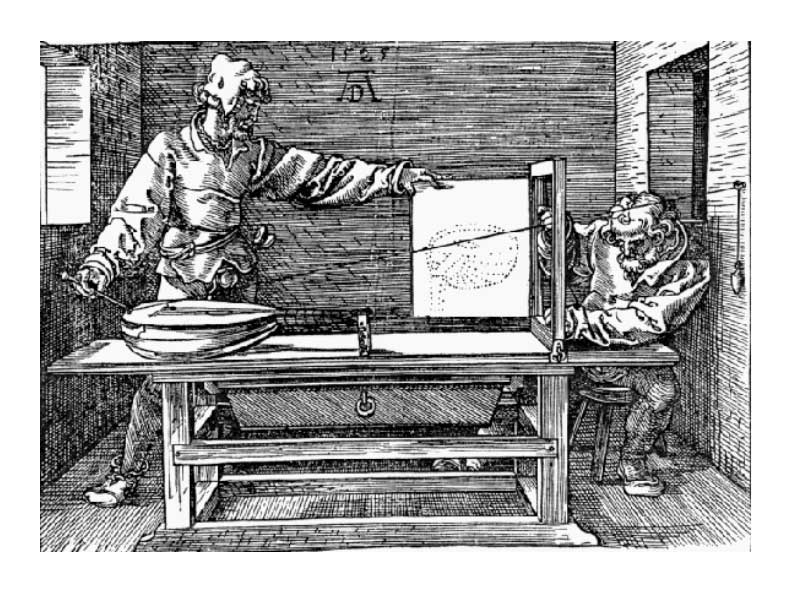
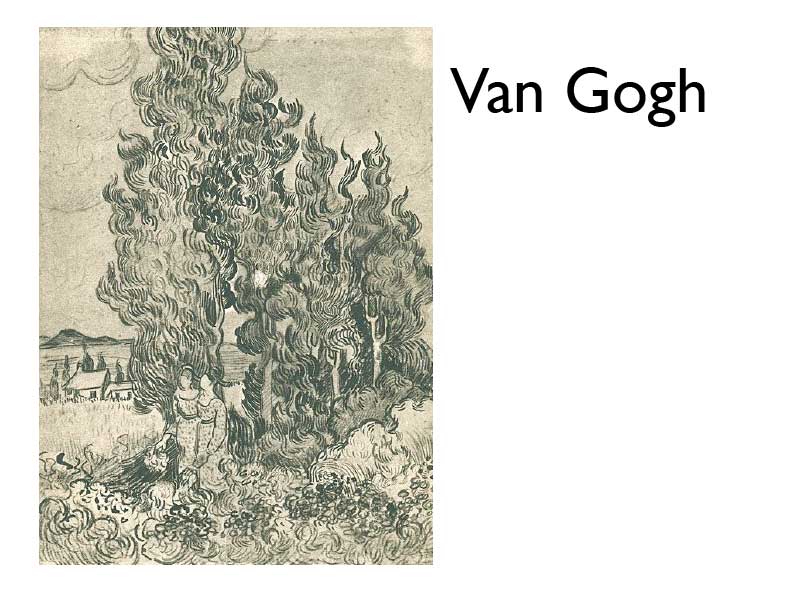
Look to the right for a few helpful elements I found that you should look at to help you develop your skills.
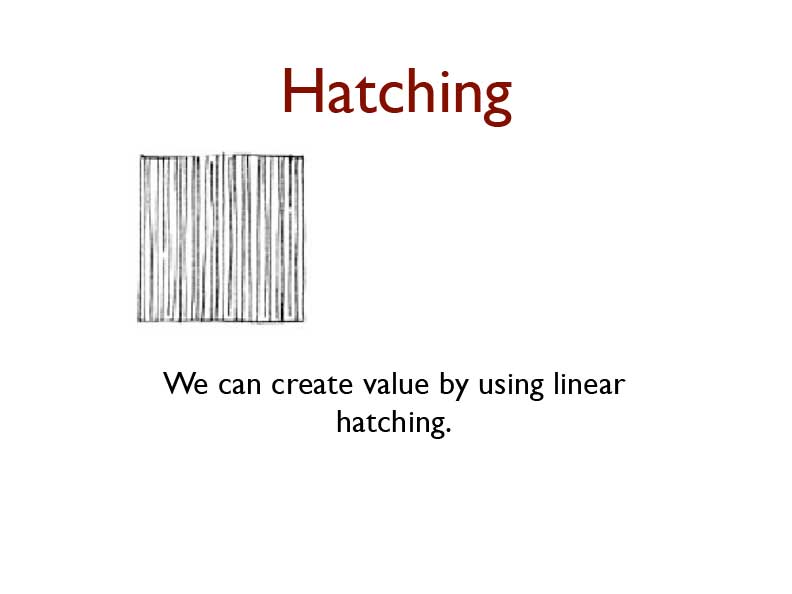
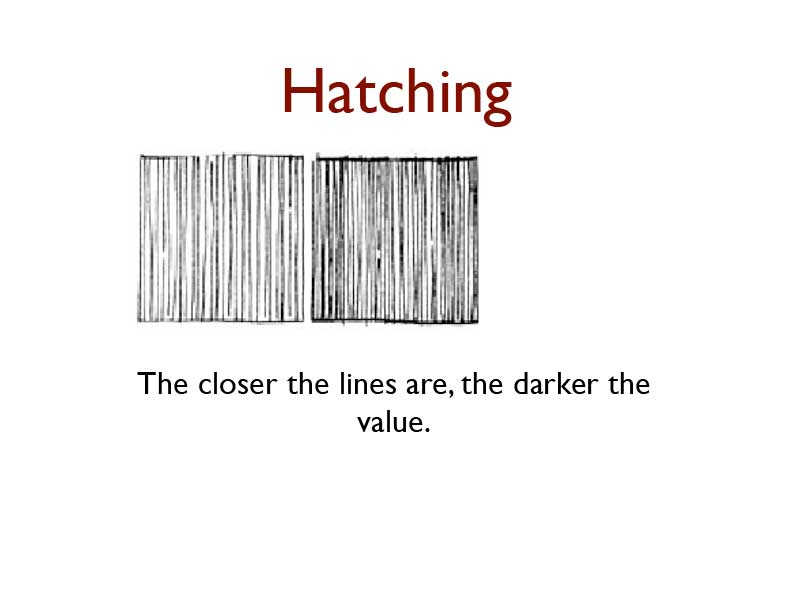
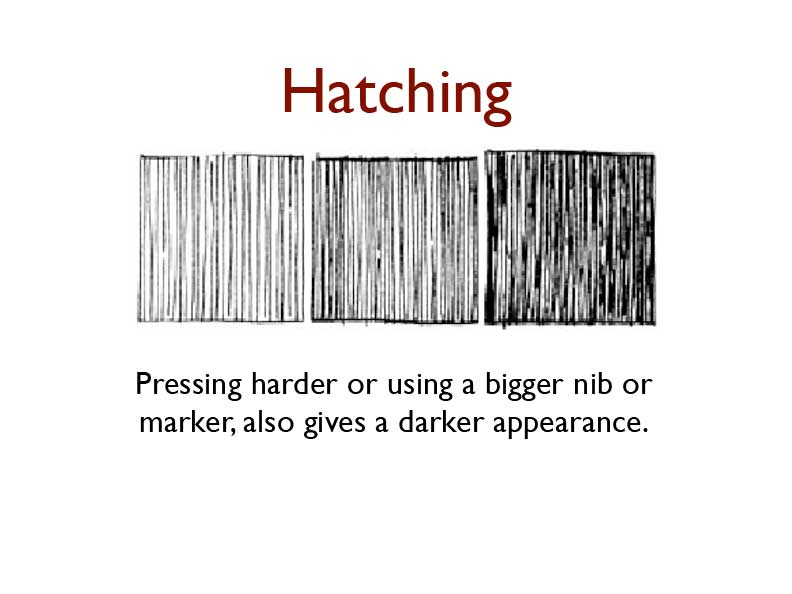
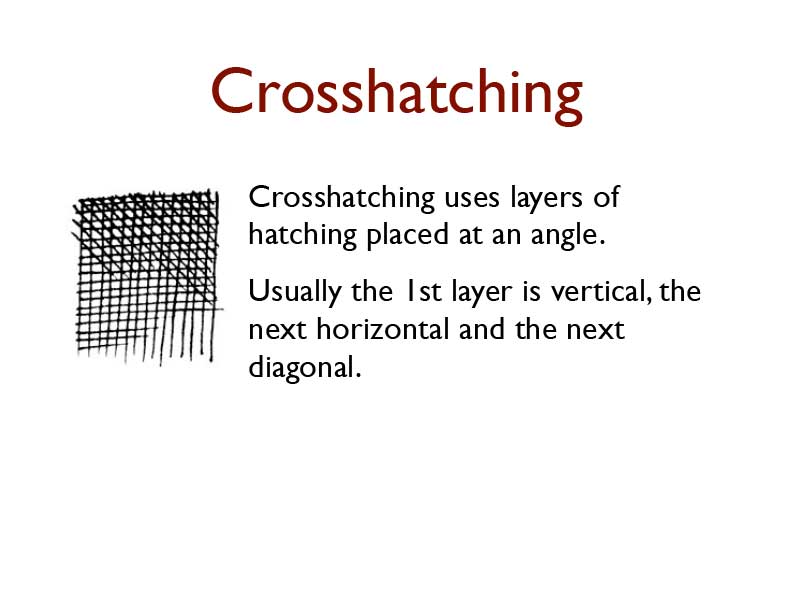
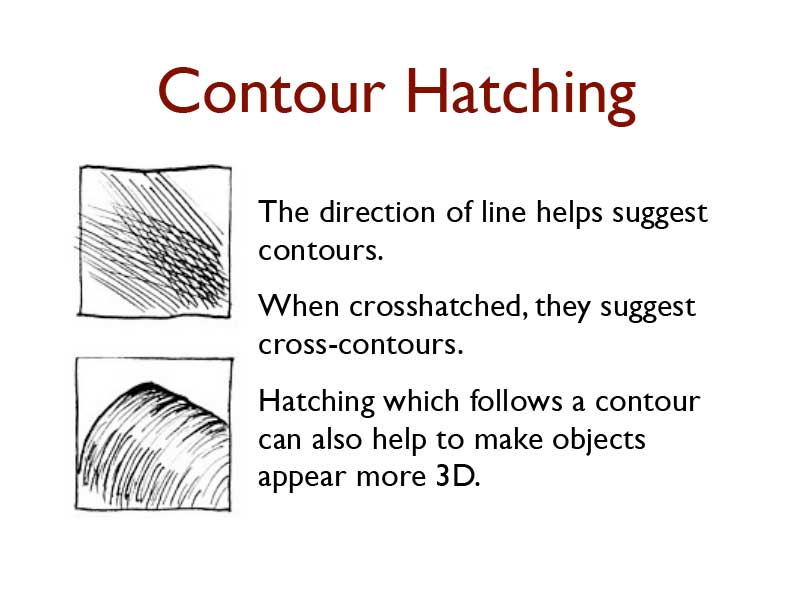
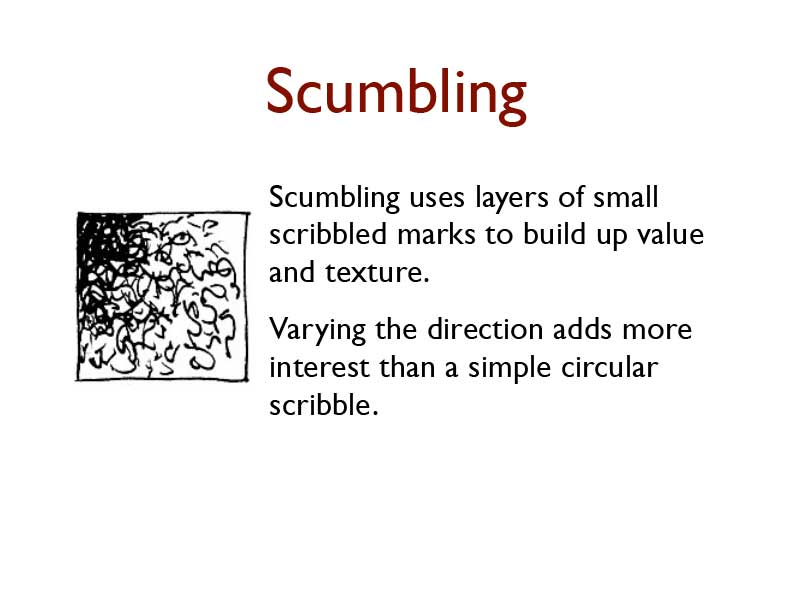
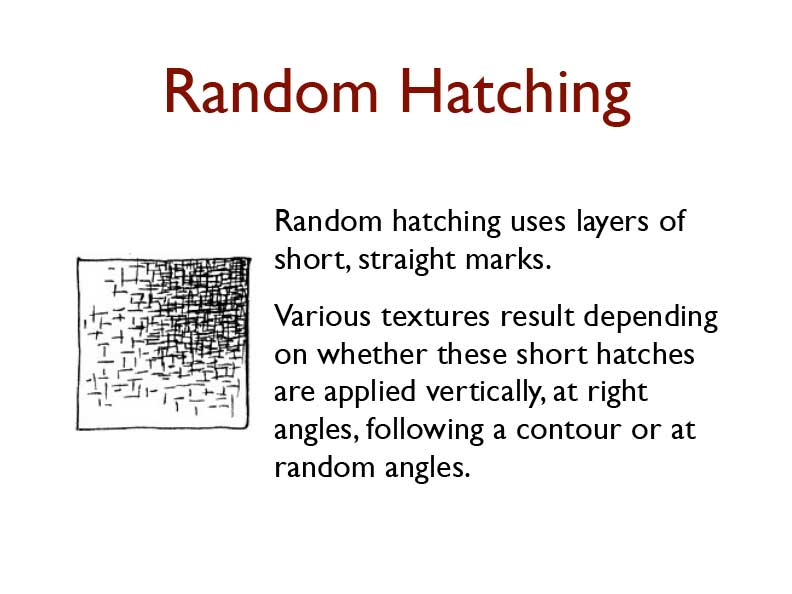
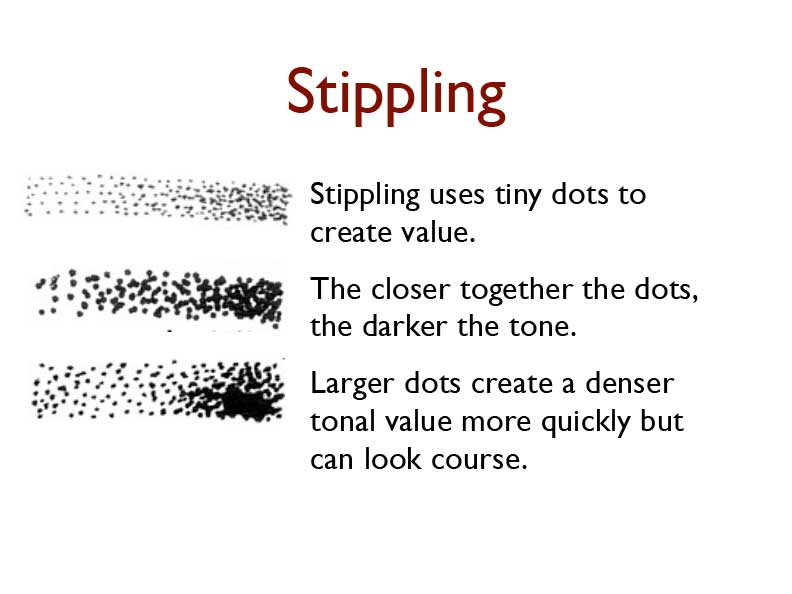
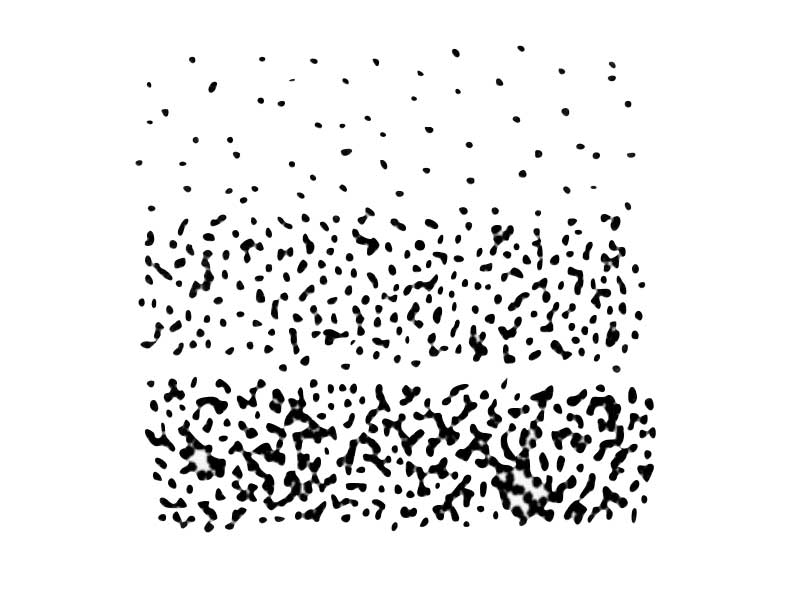
Click the image below to open the slideshow on line drawing techniques.
Observational drawing, otherwise known as still life drawing, is really just drawing what you see, and is another critical technique to master if you are going to pursue any sort of design or digital art.
When you really sit down and analyze the objects around you, especially when you take the time to set up a still life, you begin to see the relationships of them depend on space, perspective, form and volume. And this can all be defined by various applications of the line: weight, direction, contour and overlay. Many objects can be broken down into very simple geometric shapes: cylinder, sphere, rectangle, cone and pyramid, then elaborated on to finish the forms and space. Speaking of space, this is a great time to really put some energy into considering the surrounding space in your own still life set-ups for our first four exercises. Here you will begin to see that the darker background is really what gives that apple or bottle the lighter edge – the contrast. Or visa-versa. Darkness can’t exist without light to define it.
If you look at the image below, you can see that a simple piece of paper or foam board makes a great non-distractive surface, and a desk lamp can easily be a great focal source of light. Notice that the kitchen light is not on – this will help improve shadows and volumetric forms.

This short video helps us understand a bit more on this topic, but is referencing pencil work, which is fine. He has some really great rules tucked in there, though, so please watch:
I appreciate how this artist demonstrates Reference Size, but you need to think about applying that technique to the real objects that you are referencing, not by using an image in your program… that is kind of cheating at this point in the game. Try doing the reference technique with the items you have collected to draw. Watch out, there’s a really loud guitar intro on this one…
This weeks tutorials get us started with handling objects in Illustrator and you will find yourself beginning to draw with the Pencil.
Topics: Selection Tools, Pencil, Transform Objects
• Selections
Getting a good grasp on selecting artwork and objects using the Selection and Direct Selection tool.
• Path Basics and Transforms
Here we start to understand the basic functions and characteristics of vector paths, how to manipulate them, and how to transform art objects.
• Pencil Tool Intro
First round on familiarizing us with the Pencil tool.
• Pencil Tool Continued
Continuing with the Pencil tool.
• Pencil Finale – Stroke settings
Finishing up with ways to enhance your strokes make with the pencil tool, as well as a little goodie about selections.
